Vacuuming your dryer vent is an important maintenance task that can prevent fires and improve the efficiency of your dryer. You will need a shop vacuum with a hose attachment, a screwdriver, and a dryer duct cleaning kit. Here are the steps you should follow
SEE MORE: Quick & Easy Tips to Deep Clean Washing Machine
1. Safety First
Unplug your dryer or, if it’s a gas dryer, turn off the gas supply to ensure there’s no risk of electric shock or gas leak.
2. Access the Vent
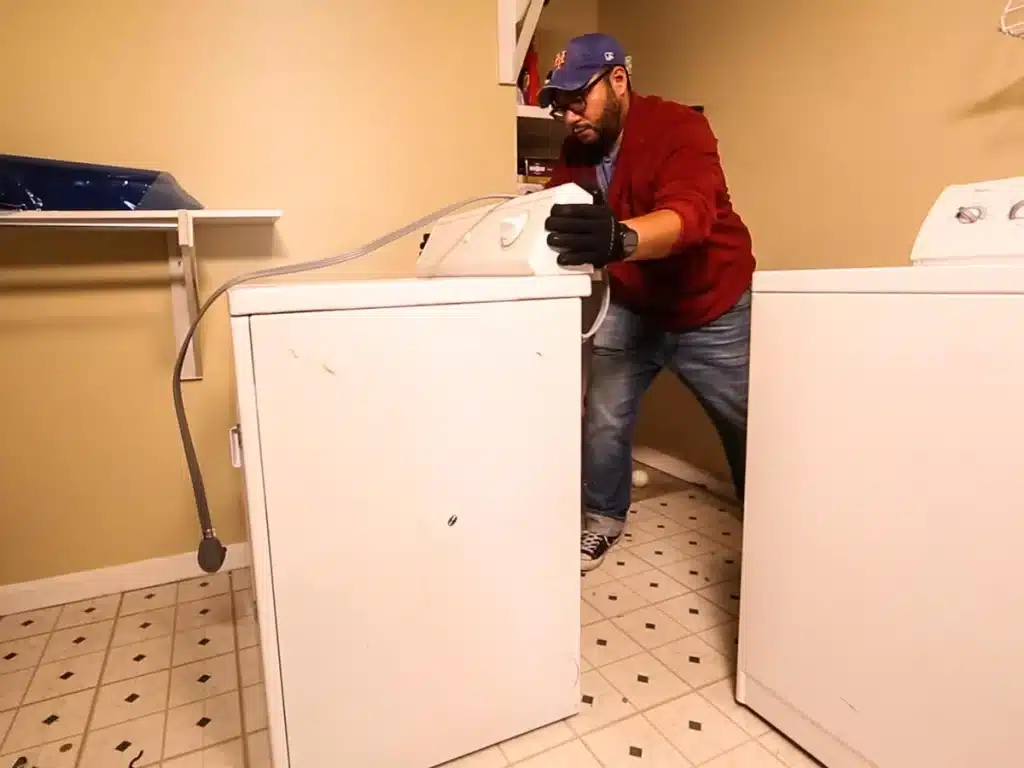 Move the dryer away from the wall to reach the vent. You may need to use a screwdriver to disconnect the vent clamp.
3. Vacuum the Vent
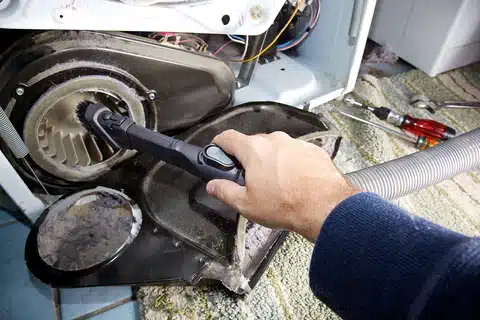 Use the hose attachment of a vacuum cleaner or shop vac to clean in and around the hole at the back of the dryer. If you can detach the length of duct where it meets the wall, do so to make cleaning easier.
4. Clean the Ductwork
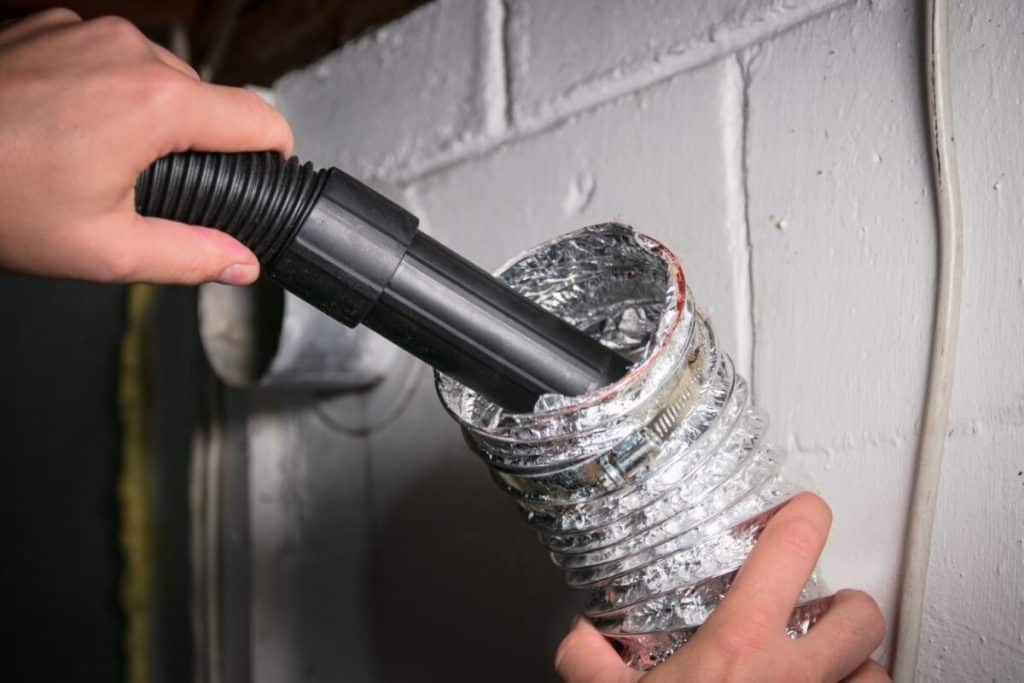
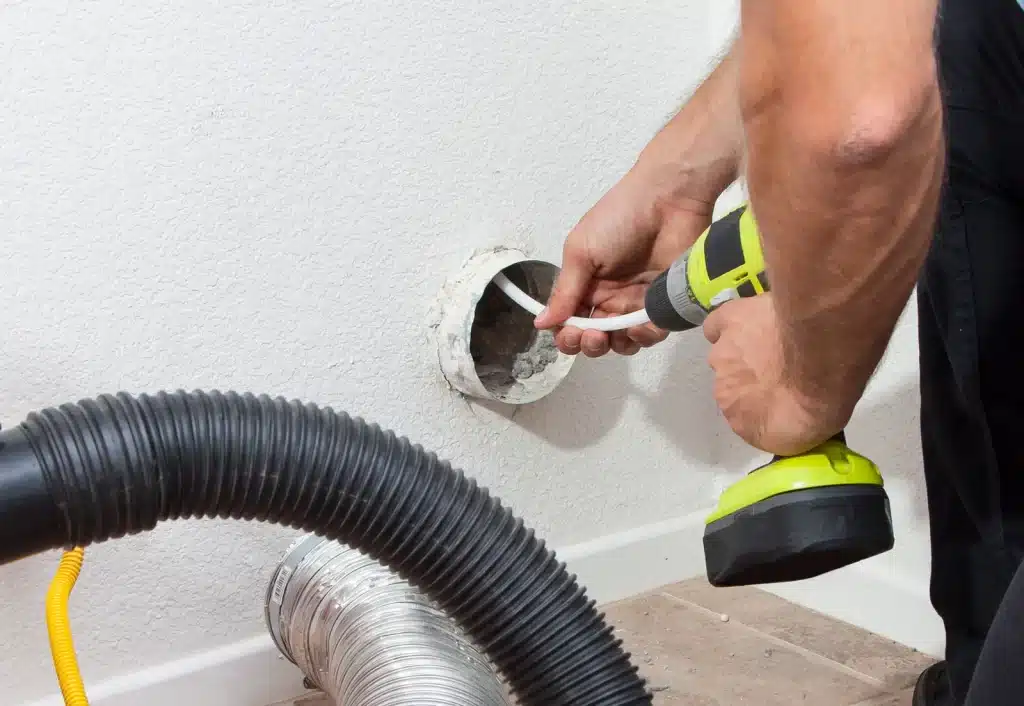 Remove lint from the duct by hand and then vacuum the inside of the duct. Use hose extensions, if available, to vacuum out as much of the duct as you can.
5. Exterior Vent Cleaning
 Go outside the house and remove the exterior vent cover. Clean out the dryer vent from the outside using a vacuum.
6. Brush Out the Vent
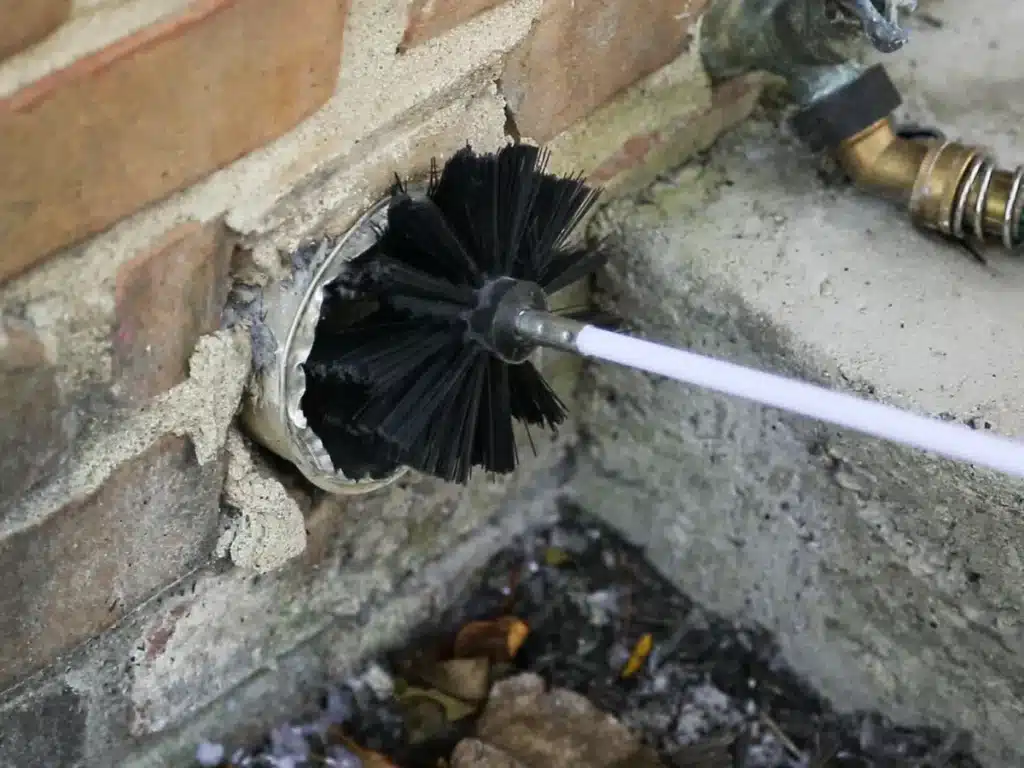 If the vent is too long, use a dryer vent kit with flexible brushes and extensions to clean the vent’s interior walls.
7. Reconnect Everything
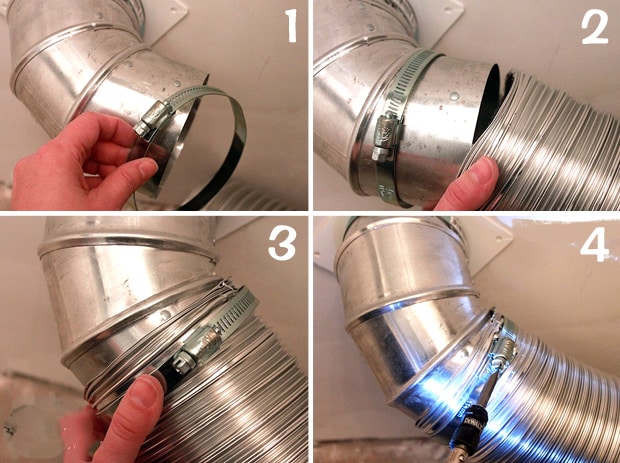 Once you’ve finished cleaning, inspect the ducts to make sure they are undamaged and up to safety codes. Reconnect the dryer duct to the back of the dryer and secure it with a vent clamp.
8. Test the Dryer
 Plug the dryer back in or turn the gas supply back on and run the dryer for a few minutes to ensure everything is working properly.
Remember to clean your dryer vent at least once a year to keep your home safe and ensure that laundry day runs at peak efficiency. If you’re unsure about any step or if you encounter any issues, it’s best to consult a professional.


