Indulging in a spa-like pedicure is a delightful treat, but what if you could achieve the same results in the comfort of your own home? Say hello to the secret ingredient in your DIY pedicure – baking soda! This humble kitchen staple does wonders for your feet, offering exfoliation, relaxation, and a touch of pampering.
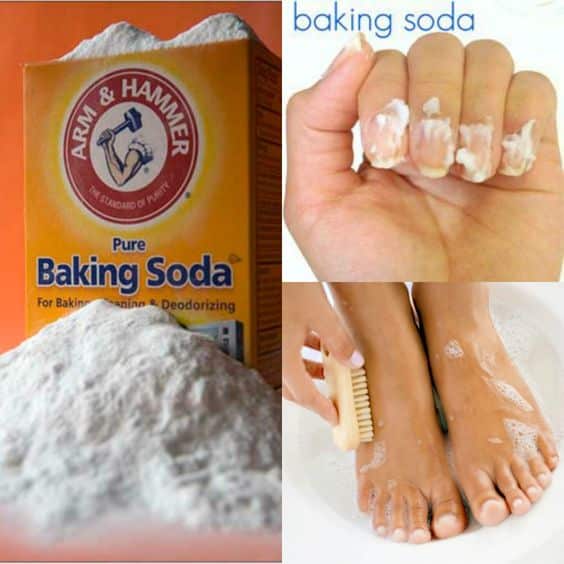
**1. Foot Soak with Baking Soda:
Begin your DIY pedicure with a luxurious foot soak. Explore the benefits of adding baking soda to warm water – it helps soften the skin, soothes tired muscles, and prepares your feet for the pampering ahead.
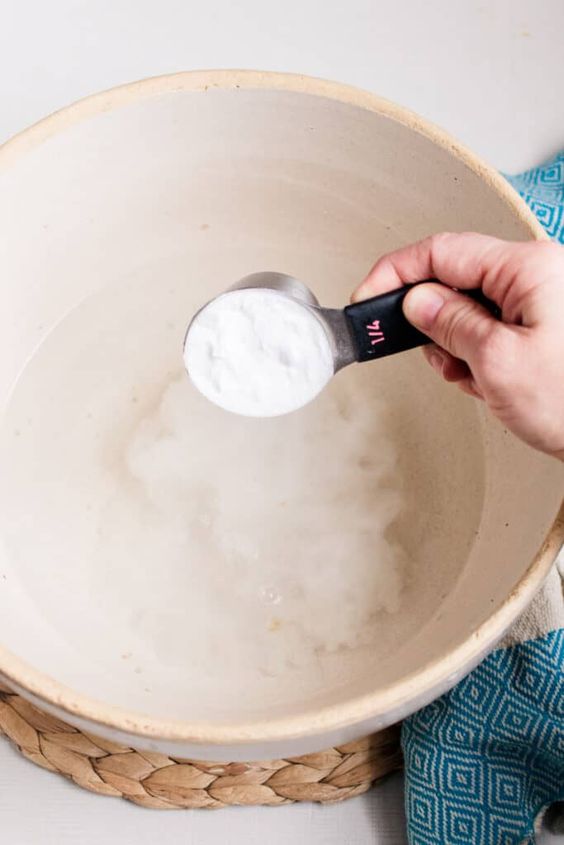
For a simple and effective foot soak, follow these step-by-step instructions:
- Fill a basin or tub with warm water. Ensure that the water level is enough to comfortably submerge your feet.
- Add 1/2 cup of baking soda to the warm water and stir until it dissolves. With extra power, someone put some vinegar as well ( optional)
- Gently massage your feet during the soak to further enhance the exfoliating and cleansing effects of the baking soda.
- After the desired soak time, rinse your feet with clean water and pat them dry. Follow up with your favorite moisturizer to lock in the hydration.
**Optional: Enhance the experience by incorporating a few drops of your favorite essential oil. Lavender or peppermint essential oil can provide a soothing or invigorating aroma.
Immerse your feet in the baking soda-infused water and relax for 15-20 minutes.
**2. Baking Soda Scrub for Exfoliation:
Uncover the exfoliating power of a homemade baking soda scrub. Learn how to create a simple yet effective mixture that gently removes dead skin cells, leaving your feet feeling smooth and refreshed.
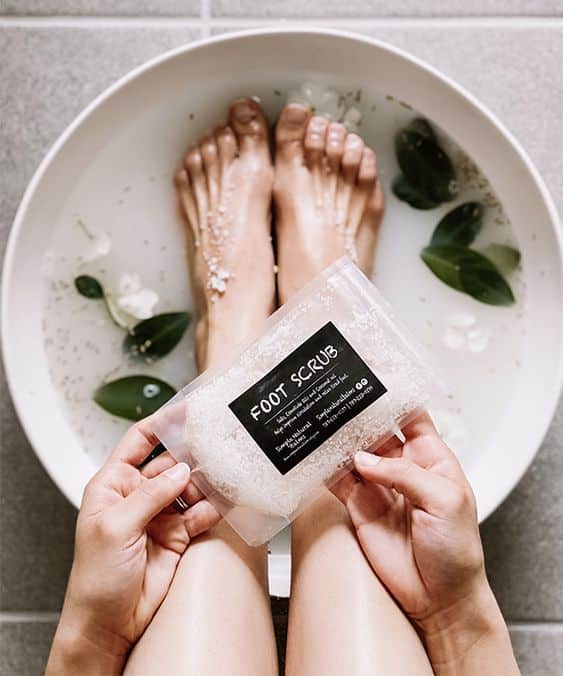
- In a small bowl, combine 2 tablespoons of baking soda, 1 tablespoon of olive oil, and 1 tablespoon of granulated sugar.
- Mix the ingredients until they form a paste-like consistency.
- Apply the scrub to your feet, focusing on areas of rough skin or calluses.
- Gently massage the scrub in circular motions for a few minutes.
- Rinse your feet with warm water and pat them dry.
**3. Cuticle Care and Softening:
Pamper your cuticles with a baking soda-based treatment. Discover how to soften and care for your cuticles, promoting healthier nails and a polished finish.
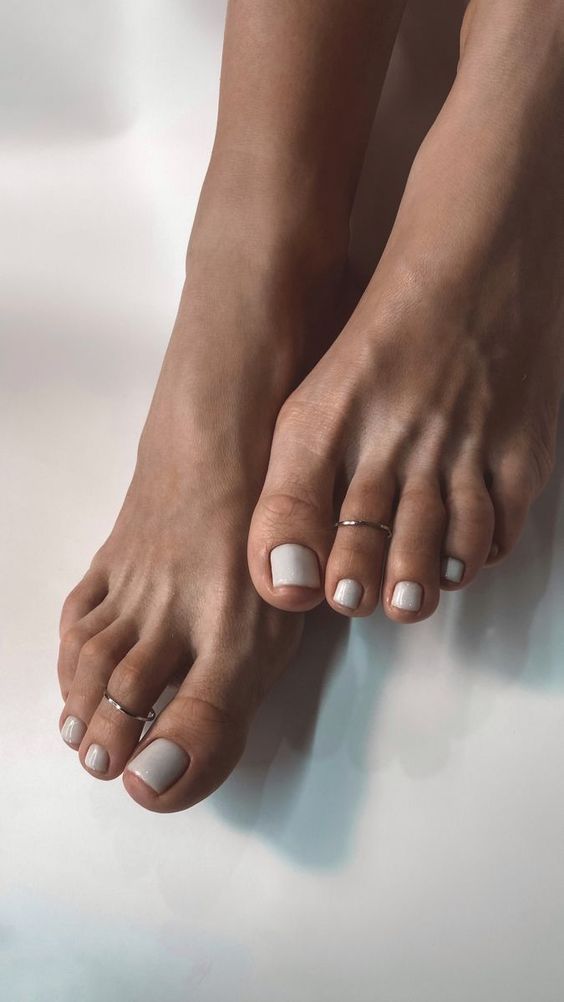
**4. Nail Brightening with Baking Soda:
Bid farewell to dull nails as we explore the brightening properties of baking soda. Learn a quick and easy technique to enhance the natural shine of your toenails.
**5. DIY Baking Soda Foot Mask:
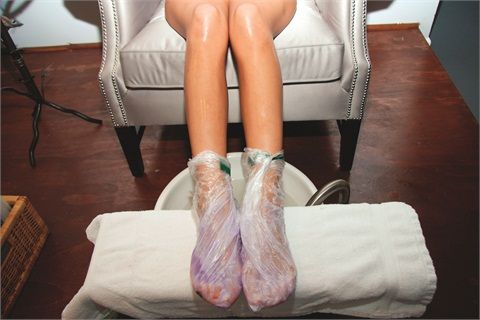
Elevate your pedicure experience with a nourishing baking soda foot mask. Unwind as we guide you through the process of creating a hydrating and rejuvenating mask for your feet.
- In a mixing bowl, combine 1/4 cup of baking soda, 2 tablespoons of honey, and the juice of half a lemon.
- Stir the ingredients until they form a smooth paste.
- Apply the mask generously to your feet, covering the entire surface.
- Leave the mask on for 10-15 minutes to allow the ingredients to work their magic.
- Rinse your feet with warm water and pat them dry.
**6. Callus Reduction with Baking Soda:
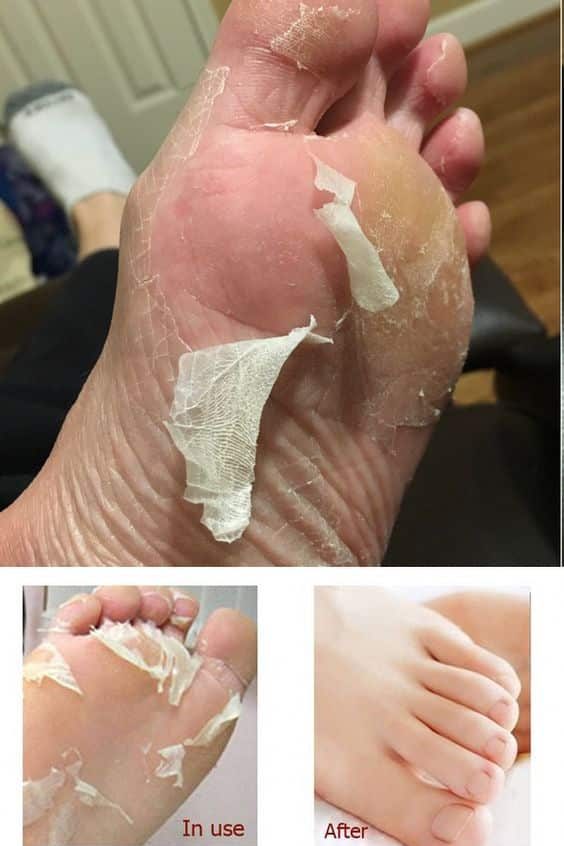
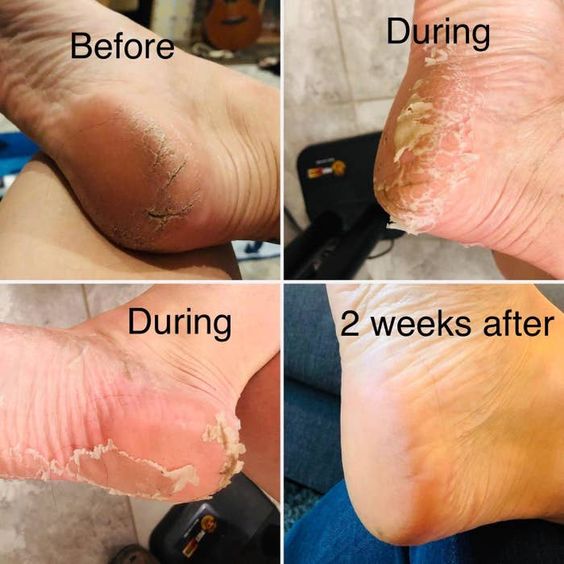
Tackle calluses with the gentle power of baking soda. Discover a safe and effective method to reduce calluses, promoting soft and supple skin.
**7. Baking Soda Foot Massage:
Cap off your at-home pedicure with a relaxing foot massage using baking soda. Learn techniques to soothe tired muscles and enhance the overall relaxation of your DIY spa experience.
Tips for an Effective Baking Soda Pedicure
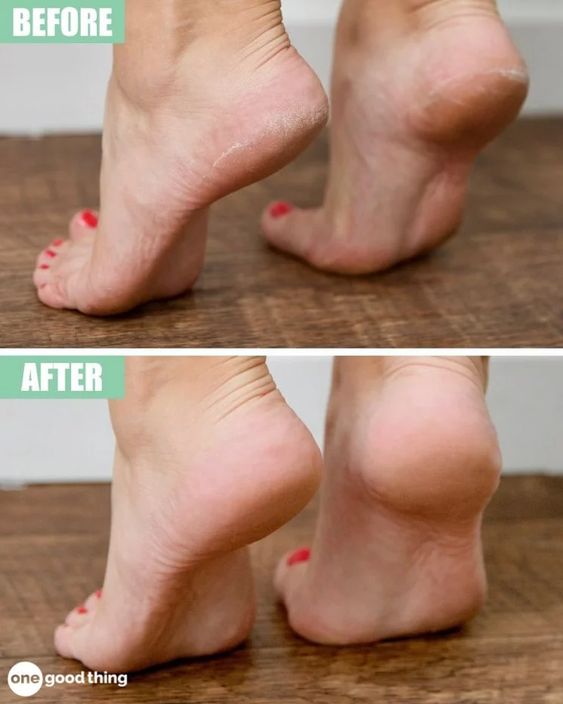
To ensure an effective baking soda pedicure, follow these key tips:
- Prioritize foot care and hygiene by washing your feet thoroughly and removing dead skin cells.
- Prepare your feet by soaking them in warm water, drying them well, and removing nail polish or treatments.
- Aim for one or two baking soda pedicures per week, with each session lasting 15-20 minutes.
- Be cautious if you have open wounds or sensitive skin, and consult a healthcare professional if needed.
As you wrap up your at-home pedicure with the versatile and budget-friendly baking soda, take a moment to appreciate the rejuvenation and pampering you’ve provided for your feet. The beauty of this DIY approach lies in its simplicity and effectiveness.


