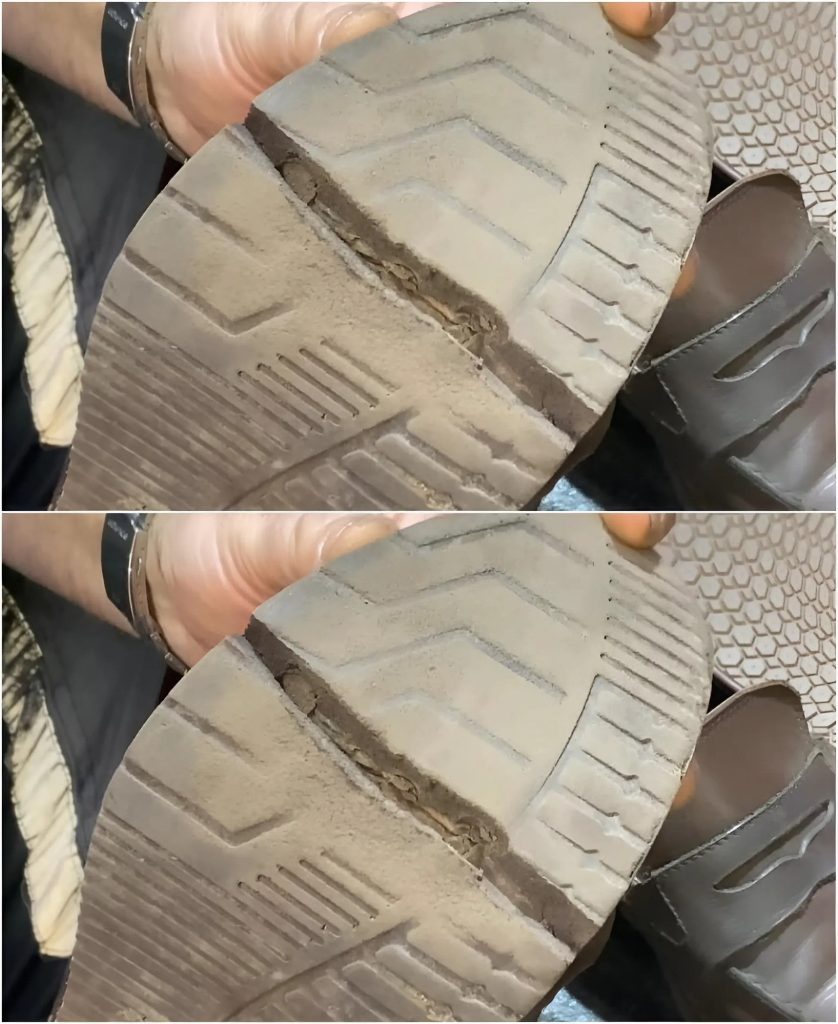
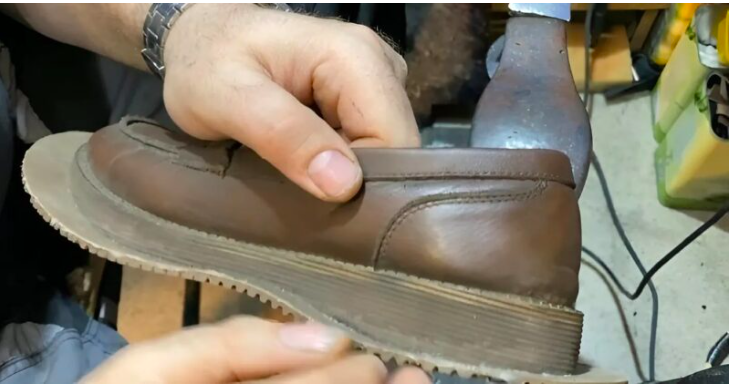
Many people encounter the frustrating problem of cracked or detached soles, which leads them to either invest in costly repairs or discard their beloved footwear.
However, there’s no need to rush to the cobbler or buy a new pair—there’s a simple DIY solution that can save you money and extend the life of your shoes.
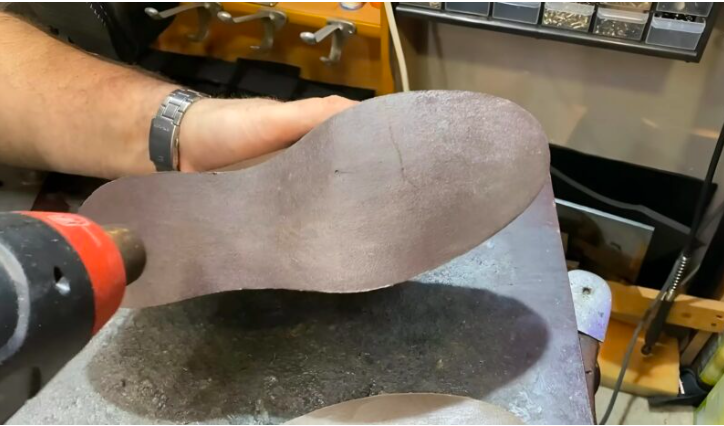
Step 1: Apply the Adhesive
Start by applying the adhesive to the damaged area of the sole, stopping about 5 mm from the upper edge. Firmly press the cracked section together to ensure a solid bond.
The glue sets quickly, so hold it in place for a few minutes before letting the shoes sit undisturbed for about 30-40 minutes to allow the adhesive to cure fully.
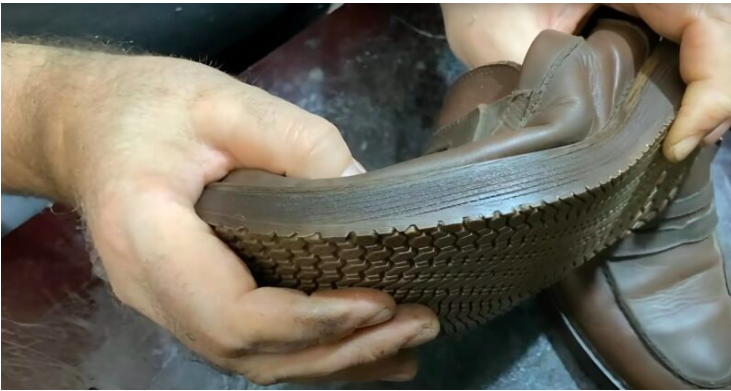
Step 2: Prepare the Sole for Reinforcement
Once the adhesive has dried, use sandpaper to smooth the sole’s surface. This step is crucial for achieving better adhesion when you attach the reinforcement pad.
Lightly sand both the sole and the pad to create a rough texture, enhancing the bond between the materials.
Step 3: Attach the Reinforcement Pad
Apply a thin layer of adhesive on both the sole and the reinforcement pad. Allow the glue to set for around 40 minutes, then add a second coat and wait an additional 20 minutes.
For optimal adhesion, apply heat—ideally around 50-60°C—to activate the adhesive. A heat gun or high-powered hairdryer can be effective for this step.
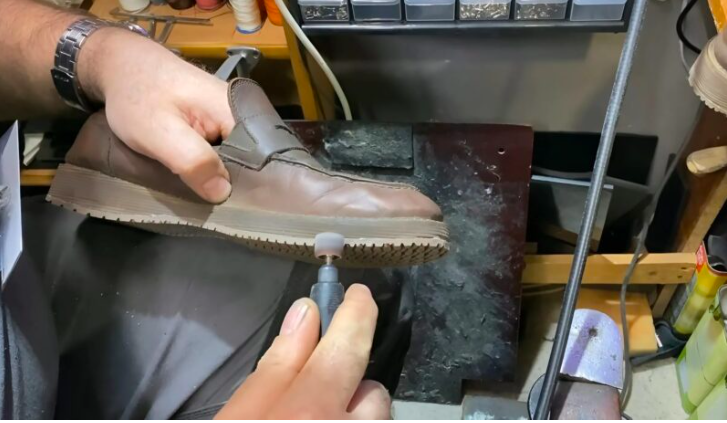
Step 4: Final Touches
After securing the pad to the sole, let the shoes rest for at least 4 hours to ensure the bond sets properly. Once fully dry, trim any excess material from the reinforcement pad and sand down the edges for a clean, professional nish.
The Outcome? Shoes That Feel Like New and Last for Years!
By following this simple repair method, your shoes can remain in great shape for many more years, saving you money and reducing waste. Instead of tossing out perfectly good footwear, try this easy x and give your shoes a new lease on life!

